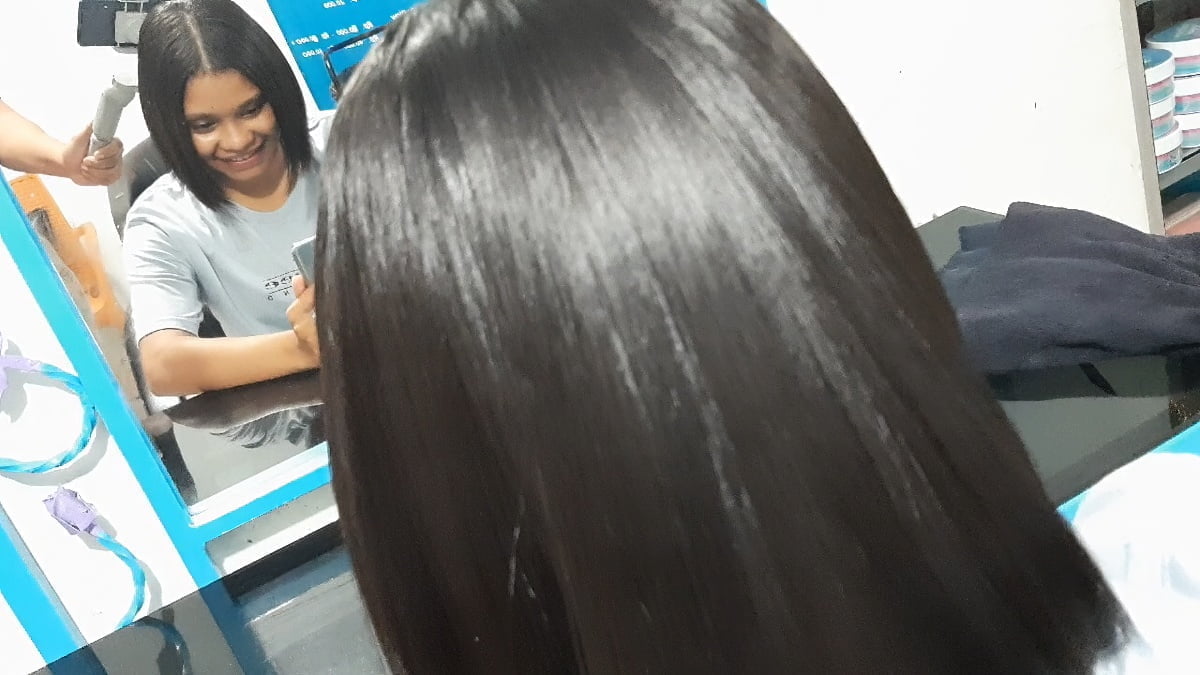
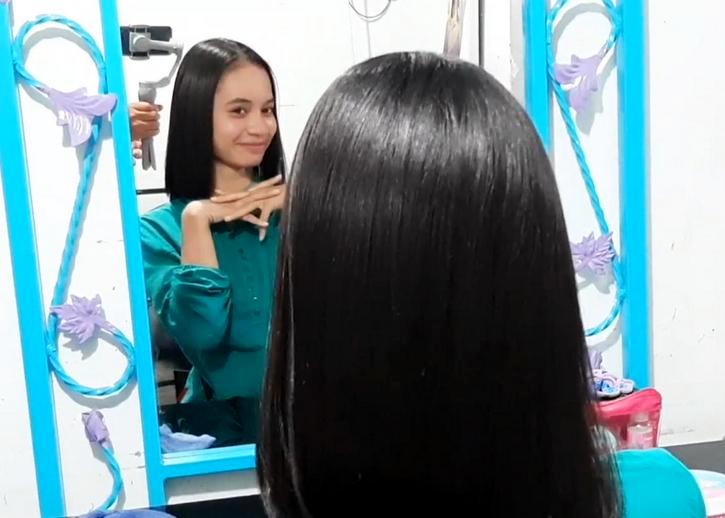
Comprehensive Guide to Virgin Hair Smoothing: Understanding the Chemistry and Professional Techniques for Optimal Results
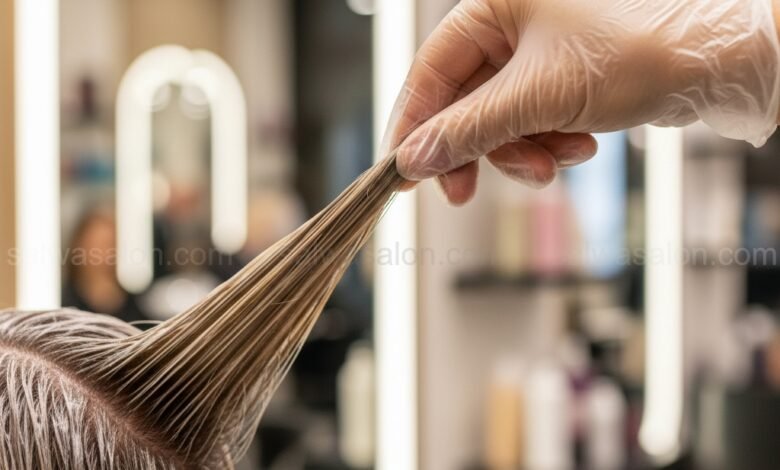
Welcome to SalwaSalon.com, a leading beauty education hub dedicated to empowering you with in-depth knowledge. This time, we will guide you through the transformative process of virgin hair smoothing—hair that has never been exposed to chemical processes before. It’s a natural canvas that requires a special approach, scientific understanding, and precise techniques to achieve a straight, smooth, shiny, and healthy hair look.
Transforming curly or wavy hair texture into straight and smooth is not just a product application. It is an art based on chemistry and mechanics, a process that, when done correctly, can yield satisfying and long-lasting results. This article will break down every stage, from initial diagnosis to post-smoothing care, ensuring you understand the ‘why’ behind every ‘how’.
Understanding Virgin Hair: The Unique Natural Canvas
Virgin hair, or hair that has never undergone chemical processes (coloring, perming, straightening), possesses unique characteristics that set it apart from processed hair. The cuticles of virgin hair tend to be tighter and more intact, providing stronger natural protection and an overall healthier texture. However, this high cuticle integrity also means that virgin hair is often more ‘resistant’ to the penetration of chemical products, including smoothing creams. This is why a careful approach and the right products are essential.
Key Characteristics of Virgin Hair:
- High Cuticle Integrity: The outermost layer of the hair (cuticle) is still tightly closed, protecting the cortex from damage.
- Natural Strength: Generally stronger and more elastic because it has not been weakened by chemical exposure.
- Resistance to Chemical Processes: Disulfide bonds within virgin hair are more robust, requiring an effective yet safe smoothing formula.
- Optimal Health: Minimal damage from split ends, breakage, or dryness due to processing.
The Scientific Pillars Behind the Smoothing Process: Chemistry & Mechanics
The hair smoothing process is a chemical intervention that fundamentally alters the hair structure. To understand why each step is so important, let’s delve into the science behind it.
Hair Anatomy and Disulfide Bonds
Hair is mostly composed of keratin protein. Within the hair cortex, there are strong chemical bonds called disulfide bonds. These bonds are responsible for your hair’s natural shape—whether it is straight, wavy, curly, or coily. The more disulfide bonds and how they are arranged, the stronger the hair’s curl pattern.
Chemical Reduction Stage (Step 1 Cream)
Smoothing cream Step 1 (often containing reducing agents such as Ammonium Thioglycolate or Monoethanolamine Thioglycolate) works by breaking down the disulfide bonds within the hair cortex. This is a “reduction” process that converts S-S (disulfide) bonds into S-H + H-S (thiol bonds). Once these bonds are broken, the hair structure becomes more flexible and ‘pliable’, allowing us to reshape it as desired.
Mechanical Straightening Stage
After the disulfide bonds are weakened by the Step 1 cream, the hair is then mechanically straightened using a comb and, most importantly, a hot flat iron. In this stage, the hair is shaped into a straight position. The heat from the flat iron helps to lock in this new shape, preparing it for the neutralization stage.
Chemical Neutralization Stage (Step 2 Cream)
Smoothing cream Step 2, or neutralizer (commonly containing hydrogen peroxide), plays a crucial role. After the hair has been shaped into a straight form, the neutralizer acts as an oxidizing agent to rebuild the disulfide bonds that were previously broken. These bonds are now reformed in a straight configuration, ‘locking in’ the hair’s new shape and permanently straightening it. Additionally, the neutralizer also helps to normalize the hair’s pH after exposure to alkaline chemicals.
Crucial Preparation: The Foundation of Your Smoothing Success
Every successful chemical process begins with careful preparation. For virgin hair, this is even more important.
Deep Cleansing and Cuticle Opening
The first step is to wash the hair using a special shampoo, ideally a clarifying shampoo. Its primary goal is to remove styling product residue, excess oil, and impurities that may be clinging to the hair. Clarifying shampoos usually have a higher pH (mildly alkaline) which will gently help to open the hair’s cuticle layer. This opening of the cuticle is essential for the Step 1 smoothing cream to effectively penetrate the hair cortex and break down disulfide bonds. It is important not to use conditioner after this wash, as conditioner will close the cuticles, hindering the penetration of Step 1 cream.
Precise Initial Drying: 80% Dry
After washing, the hair needs to be towel-dried or blow-dried with cool air until it is approximately 80% dry. Why 80%? Hair that is too wet can dilute the smoothing cream, reducing its effectiveness. Conversely, hair that is too dry may start to close its cuticles again, making cream application more difficult and absorption less even. The 80% moisture level ensures optimal and even product penetration.
Professional Guide to Step 1 Cream Application: Reshaping Hair Structure
This is the core stage where chemical changes begin. Precision is key.
Hair Diagnosis: Key to Determining Formula and Processing Time
Before application, we perform an in-depth diagnosis of the client’s hair type. Is the hair fine, medium, or coarse? How strong is its curl pattern? What is its porosity level? Strong, resistant virgin hair may require a stronger Step 1 cream formula or a slightly longer processing time. Finer hair or hair with medium porosity may require a milder formula. Choosing the right formula will minimize the risk of damage and maximize straightening results.
Correct Application Technique
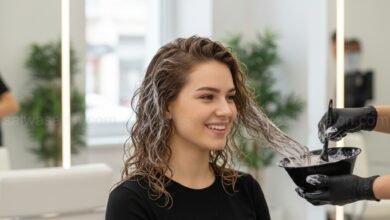
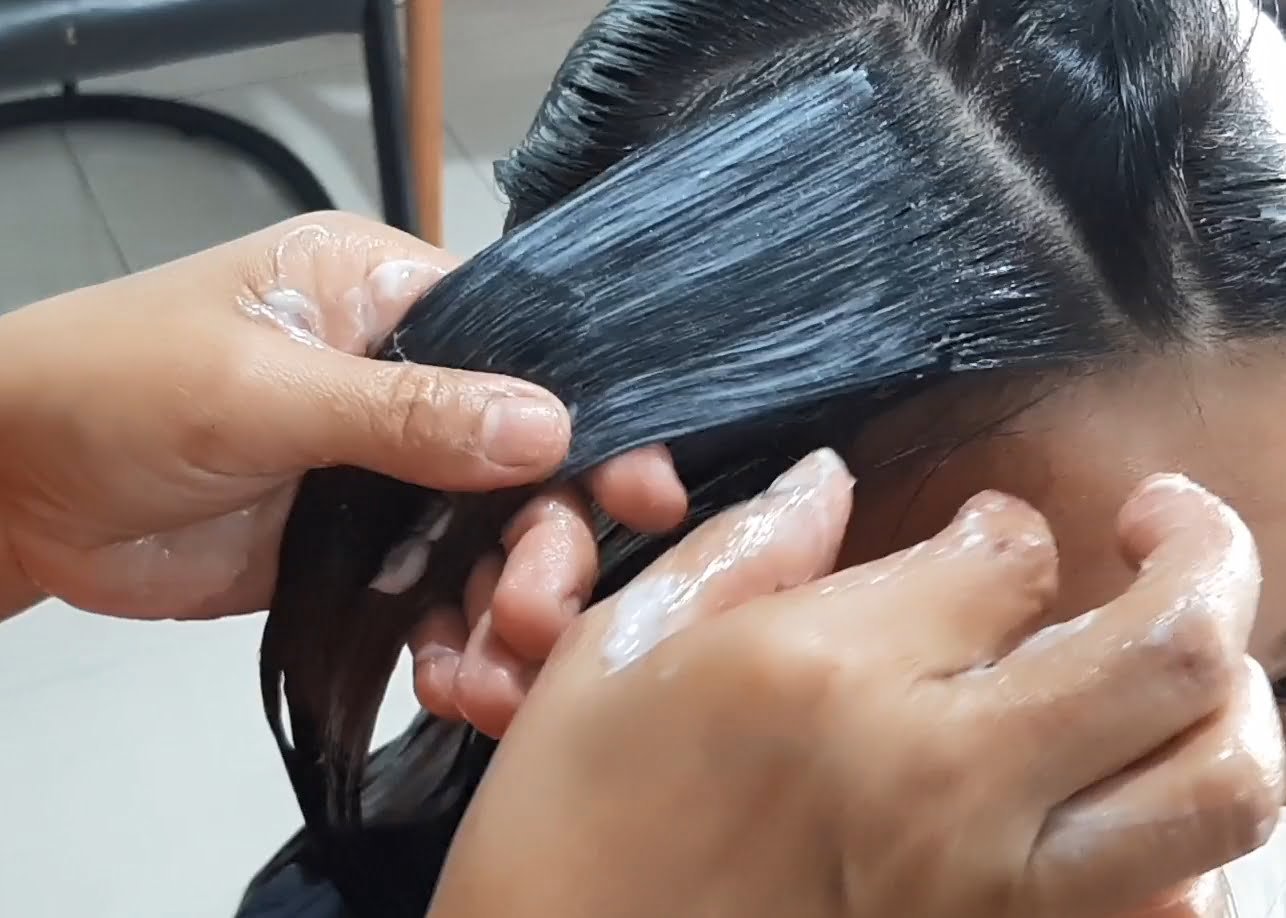
Divide the hair into several sections (e.g., 3-4 sections) to facilitate even and systematic application. Apply Step 1 cream carefully, layer by layer, starting 1 centimeter from the hair roots to the ends. Why 1 centimeter? The area near the scalp generates natural heat which can accelerate the chemical process, so direct application to the roots can cause irritation or hair breakage at the base. Ensure every strand of hair is evenly coated but not excessively, using a brush or gloved hands.
Elasticity Test & Processing Time Monitoring: The Crucial Moment
After application, allow the Step 1 cream to work. The processing time generally ranges from 30 to 40 minutes, but this is highly flexible and depends on the hair diagnosis. While waiting, we will continuously perform an ‘elasticity test’ or ‘strand test’.
How to perform the elasticity test: Take a few strands of hair from several different areas. Gently stretch the hair. If the hair feels elastic like a rubber band, can be stretched and then returns to its original shape without breaking, then the disulfide bonds are sufficiently softened. If the hair breaks immediately or feels brittle, it means the hair is too weak and may be over-processed. If the hair does not stretch at all, it means it has not been processed enough.
This moment is the most crucial. Under-processing will result in hair that is not perfectly straight, while over-processing can lead to severe damage, such as hair breakage or burning. Professional experience and expertise are highly needed at this stage.
Mechanical Transformation: Straightening with Precision
Once the disulfide bonds are flexible enough, the hair is ready to be shaped straight.
Rinsing After Reduction: Without Shampoo and Conditioner
After the hair passes the elasticity test, rinse the hair thoroughly with running water, WITHOUT using shampoo or conditioner. Ensure no Step 1 cream residue remains on the hair, as residue can continue to process the hair and cause damage. Thorough rinsing is very important.
Complete Drying and Thermal Protection
Dry the hair using a blow dryer until it is completely 100% dry. Why must it be completely dry? Any remaining water in the hair during flat ironing can boil and cause serious thermal damage to the hair strands. Before flat ironing, apply a heat protectant vitamin or serum evenly. This product forms a protective layer around the hair shaft, reducing the impact of direct heat from the flat iron and preventing cuticle damage and keratin protein denaturation.
Professional Flat Ironing Technique
Divide the hair back into several sections. Flat iron layer by layer, taking thin sections of hair (about 1-2 cm) to ensure even heat. The ideal flat iron temperature for virgin hair is usually around 180°C, although it can be adjusted depending on hair thickness and resistance. Flat iron with smooth and consistent movements, following the direction of hair growth from roots to ends. Ensure each section is ironed several times (e.g., 3-5 times) until the hair feels smooth, perfectly straight, and shiny. The right tension during flat ironing is also important to achieve maximum straightening results.
Locking in Results: Neutralization and Final Care
Flat ironing has changed the hair’s shape. Now it’s time to permanently lock in that new shape.
Neutralizer Cream Application (Step 2): Rebuilding Bonds
After all the hair has been perfectly flat ironed, apply Neutralizer cream (Step 2) evenly throughout the hair, layer by layer. Ensure every strand of hair is well coated. This cream will work to rebuild the disulfide bonds in a straight configuration, permanently ‘locking in’ the straightening results. Leave it on for 15 minutes to allow Step 2 cream to absorb optimally and complete the oxidation process.
Final Rinse and Cuticle-Closing Conditioner
After 15 minutes, rinse the hair thoroughly with cool or lukewarm water. This time, use a conditioner formulated for chemically processed hair. The conditioner will help to close the hair cuticles that may still be open, normalize the hair’s pH after the chemical process, and provide moisture and softness. Choose a sulfate-free conditioner rich in moisturizers for the best results. After rinsing, blow dry the hair until completely dry.
Final Touches: Vitality and Shine
As a final touch, perform a light finishing flat iron if needed, to ensure every strand of hair is perfectly straight and shiny. Conclude with the application of a hair serum or vitamin that provides extra shine, softness, and additional protection. With this, the virgin hair smoothing process is complete, leaving hair smooth, straight, and radiating natural shine.
Long-Term Investment: Post-Smoothing Care for Maximum Durability
Getting a smoothing treatment is an investment. Caring for it correctly will extend the life of the results and maintain your hair’s health.
- Avoid Shampooing for 3 Days: Allow the disulfide bonds to fully stabilize.
- Use Smoothing-Specific Products: Choose sulfate- and paraben-free shampoos and conditioners designed for smoothed or bonded hair. These products generally have a balanced pH and contain keratin or other proteins to maintain hair strength.
- Minimize Heat Use: Although the hair is already straight, avoid excessive use of flat irons or hot styling tools. If you must, always use a heat protectant.
- Weekly Treatment: Apply hair masks or hair vitamins regularly to maintain hair moisture and nutrition.
- Trim Hair Ends Regularly: This helps remove split ends and maintains overall hair health.
We at SalwaSalon.com are committed to providing in-depth beauty education. For those who wish to delve deeper into complex hair diagnosis, smoothing formula comparisons, or techniques for handling problematic hair post-smoothing.
We also recommend a range of post-smoothing hair care products from leading brands proven to maintain your hair’s health and straightness. You can find a list of the best products and affiliate links on our product recommendation page, ensuring you gain access to high-quality care solutions.
The virgin hair smoothing process is a journey that requires understanding, patience, and expertise. From a fundamental understanding of hair chemistry to the application of precise techniques, each step is a pillar for achieving perfect results. With this comprehensive guide, we hope you not only understand the ‘how’ but also the ‘why’ behind each stage. Remember, true beauty radiates from health, and knowledge is the key to achieving both. Keep learning, keep exploring, and let SalwaSalon.com be your partner in every step of your beauty journey.
