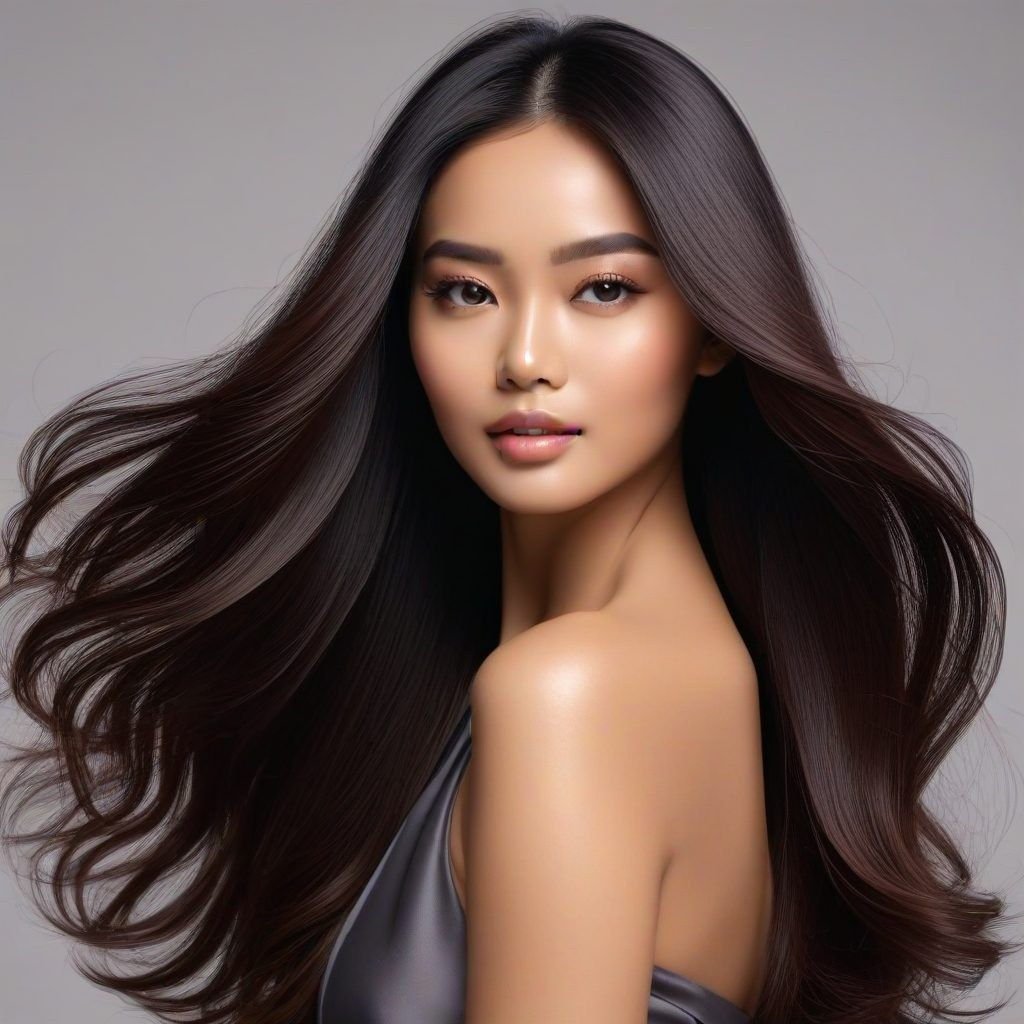
Let’s delve into the complete technique for a retouch smoothing treatment. This method is ideal for newly grown hair and previously treated hair that has become frizzy, lacks softness, shine, or straightness.
Phase 1: Preparation.
Fatmawati also confirmed whether Rina’s hair had been previously colored. If so, the hair requires additional pre-treatment to ensure optimal absorption of the straightening cream. The hair must also be clean and free of any oil or product buildup.
After analyzing Rina’s hair, Fatmawati Tahir noted the following: her hair is thick, wavy, and stiff, and had just been shampooed. Rina’s hair requires a normal hair category straightening cream in a generous amount, and precise flat-ironing temperatures to restore its straightness, softness, and natural appearance before her online store live stream.
Phase 2: Application of Step 1 Cream.
The Step 1 cream is applied evenly throughout the hair, starting one centimeter from the scalp and extending to the ends. Application can be done by hand or with a brush, section by section. Ensure the cream is thoroughly distributed, coating every strand.
Phase 3: Processing.
After applying the Step 1 cream, allow the hair to process for 30 to 45 minutes, visually monitoring the hair’s elasticity. The processing time depends on the client’s hair thickness, condition, and curl pattern. This stage is crucial for the active ingredients in the cream to effectively initiate the straightening process.
Once the Step 1 cream has adequately processed, proceed with the hair softening technique using the two-finger method, section by section. Allow the hair to sit for 15 minutes after the two-finger softening, then rinse the hair thoroughly without shampoo or conditioner.
Phase 4: Initial Flat-Ironing.
Dry the hair using a blow dryer on a cool or warm setting until it is 100% dry. Subsequently, apply a heat protectant spray or hair mask to shield the hair from the flat iron’s heat. Divide the hair into three sections and begin flat-ironing at 180 degrees Celsius, working section by section, following the natural growth pattern of the hair until it appears smooth and lustrous.
Phase 5: Application of Step 2 Cream.
Once the initial flat-ironing is complete, apply the Neutralizer or Step 2 cream evenly, section by section, to lock in the results and re-normalize the hair’s pH after the Step 1 cream and heat styling. Allow it to process for 15 minutes. Then, rinse the hair thoroughly without shampoo, using only conditioner to help close the cuticle layers, leaving the hair feeling soft. Dry the hair with a medium-heat blow dryer until completely dry.
Phase 6: Finishing.
Finally, perform a finishing flat-iron pass and apply a hair serum as an added service for the client.
See you in the next tutorial. Stay beautiful!



Tinggalkan Balasan