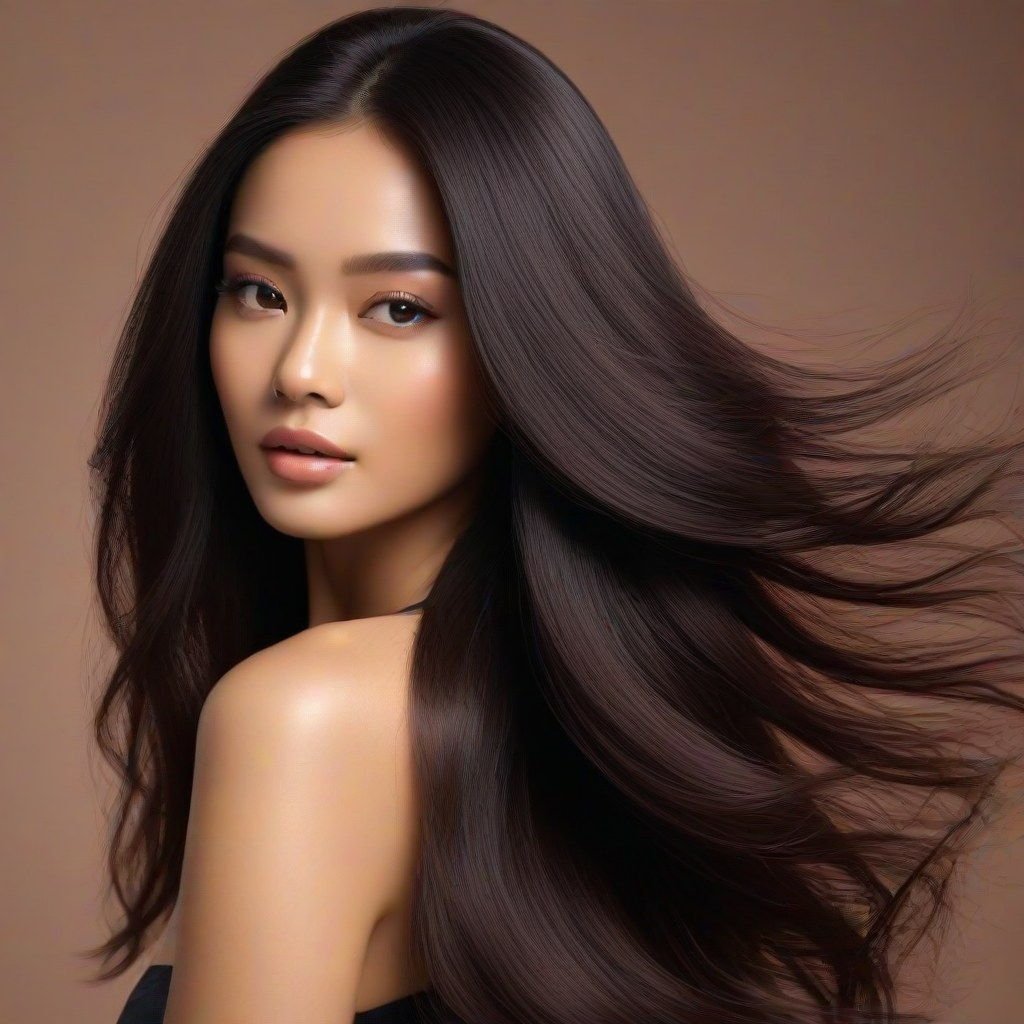
Straight, smooth, and lustrous hair is the dream for many. However, over time, smoothed hair grows out, leaving the roots frizzy or wavy while the ends remain straight. This is where the retouch smoothing process becomes a smart solution to restore your hair’s perfect straight shine.
- 2.1 Step 1: Thorough Hair Cleansing
- 2.2 Step 2: Initial Hair Drying
- 2.3 Step 3: Precise Hair Sectioning
- 2.4 Step 4: Careful Smoothing Cream Application
- 2.5 Step 5: Smoothing Cream Processing
- 2.6 Step 6: Thorough Rinsing Without Shampoo
- 2.7 Step 7: Initial Drying and Smoothing
- 2.8 Step 8: Professional Flat Ironing Process
- 2.9 Step 9: Final Nourishment and Shine
Many ask, “Can a smoothing retouch be done at home?” The answer is YES, with thorough preparation and by following the correct steps. As an experienced beauty instructor at SalwaSalon.com, we’ve designed this practical guide to walk you through each stage, ensuring you achieve salon-quality results from the comfort of your home.
This guide will empower you to understand the essence of smoothing retouch, select the right products, and apply them with professional techniques. Let’s begin!
Essential Preparations Before Your Smoothing Retouch
The key to a successful at-home smoothing retouch lies in meticulous preparation. Don’t skip this part!
1. Expert Consultation: A Mandatory Step for Safety and Optimal Results?
Before you start, the most crucial step is to consult with a professional beauty expert. Why is this important?
- Hair Condition Evaluation: An expert can assess your hair’s health, especially at the root area that will be retouched, as well as the previously smoothed ends. This is critical to prevent damage.
- Proper Smoothing Solution Selection: There are various types of smoothing solutions, and not all are suitable for every hair type or condition. A consultant will recommend a product with an appropriate formula, minimizing the risk of irritation or hair damage.
- Product Knowledge: Especially if your hair has been previously smoothed, selecting a compatible solution is vital. We at SalwaSalon offer complimentary initial consultations to ensure you use safe and effective products.
2. Prepare All Tools and Materials
Ensure all your supplies are ready before you begin. Here’s the list you’ll need:
- Smoothing Solution Kit Specifically for Retouch: Make sure you have the product recommended during your consultation.
- Keratin-Infused Shampoo: To cleanse hair prior to application.
- Non-Metallic Bowl & Application Brush: For mixing and applying the cream.
- Protective Gloves: To shield your hands from chemicals.
- Hair Clips/Alligator Clips: For neatly sectioning hair.
- Fine-Tooth Comb & Wide-Tooth Comb: For detangling and smoothing.
- Clean Towels: For drying hair.
- Hair Dryer: With low to medium heat settings.
- Professional Flat Iron: With precise temperature control.
- Keratin-Infused Serum or Hair Vitamins: For post-smoothing nourishment.
- Facial Shield or Tissues: To protect facial skin and ears.
Smoothing Cream Application Guide: Step-by-Step
Follow each of these steps meticulously. Patience is the key to perfect results.
Step 1: Thorough Hair Cleansing
Shampoo your hair with a keratin-infused shampoo. Focus on cleansing the scalp and hair roots. It’s important to not use conditioner or any other treatment products after shampooing. Hair must be completely free of product residue for the smoothing solution to work optimally.
Step 2: Initial Hair Drying
Gently towel-dry your hair until it’s about half dry. Then, use a hair dryer on the lowest heat setting until your hair is approximately 80% dry. Avoid combing or tying wet hair, as hair in this state is very fragile and prone to breakage or tangles.
Step 3: Precise Hair Sectioning
Divide your hair into small sections and secure them with clips. Start from the back of your head, as this area usually requires a longer processing time. Neat sectioning ensures even application of the smoothing cream to all areas needing treatment.
Step 4: Careful Smoothing Cream Application
Wear gloves. Apply the smoothing cream (Step 1 solution) evenly only to the new growth at the roots. Avoid applying the solution to previously smoothed hair or directly onto the scalp. If your hair is very long, we recommend asking a friend or family member for assistance to ensure a more even and safe application. Ensure every strand in the area to be retouched is perfectly coated.
Step 5: Smoothing Cream Processing
Let the smoothing solution process for 15-20 minutes. This time may vary depending on your hair’s thickness and texture. To ensure the solution has worked, you can perform an elasticity test: Take a strand of hair and gently pull it. If the hair feels elastic and returns to its original shape without breaking, it’s ready. During this process, do not touch or move your hair.
Step 6: Thorough Rinsing Without Shampoo
Rinse your hair with clean running water until all traces of the smoothing solution are removed. No shampoo or soap is needed during rinsing. Ensure not a single bit of smoothing cream remains on your hair or scalp.
Step 7: Initial Drying and Smoothing
Dry your hair with a hair dryer on a medium heat setting until completely dry. Use a wide-tooth comb to gently and carefully comb through your hair. Ensure there are no tangles.
Step 8: Professional Flat Ironing Process
Prepare your flat iron. Adjust the temperature according to your hair type (thin/damaged hair requires lower heat; thick/coarse hair can tolerate higher heat). Take thin sections of hair, starting from the root to the tip. Flat iron slowly and evenly, ensuring the hair becomes completely straight and smooth. Do this for all retouched sections, all the way to the already straightened ends.
Step 9: Final Nourishment and Shine
After all flat ironing is complete, apply a keratin-infused serum or hair vitamin, or other beneficial natural ingredients. This will help lock in moisture, provide extra nourishment, and add shine to your hair.
Post-Retouch Care for Lasting Results
Congratulations! You’ve successfully completed your smoothing retouch. Now, to ensure the results last and your hair remains healthy, pay attention to these post-retouch care tips:
1. Avoid Shampooing for 3 Days
This is the golden rule! Do not shampoo for at least 72 hours (3 days) after your smoothing retouch. This allows the smoothing solution to work optimally and set the new hair structure.
2. Maintain Hair Shape
During the first 3 days, avoid tying, clipping, curling, or styling your hair in any way that could create kinks or waves. Let your hair hang straight and free.
3. Regularly Use Keratin-Infused Products
Invest in shampoos, conditioners, and hair masks specifically formulated for smoothed hair, especially those enriched with keratin. Keratin will help maintain your hair’s strength and softness.
4. Avoid Hot Water and Excessive Sun Exposure
Hot water can open the hair cuticle and accelerate the fading of the smoothing effect. Protect your hair from direct sunlight with a hat or UV-protective products.
When is Time for the Next Retouch?
Salwa Stylist’s Conclusion
Performing a smoothing retouch at home requires precision and patience, but the results can be highly satisfying if done correctly. By following this step-by-step guide, you will not only achieve beautifully straight, shiny hair but also gain a deep understanding of how to care for it.
Remember, hair health is paramount. If you feel uncertain or need further assistance, don’t hesitate to contact the beauty experts at SalwaSalon.com. We are always ready to guide you toward achieving your dream hair. Happy styling and enjoy your perfectly straight hair!



Tinggalkan Balasan