How to Style the "Butterfly Cut" at Home (10-Minute Quick Blow-Dry Tutorial)
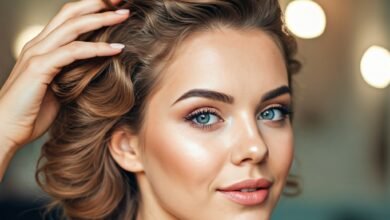
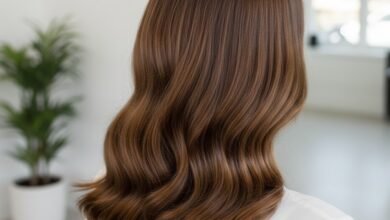
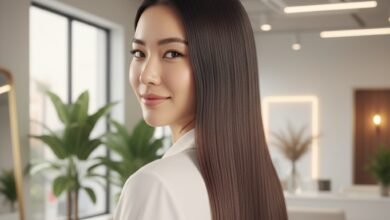
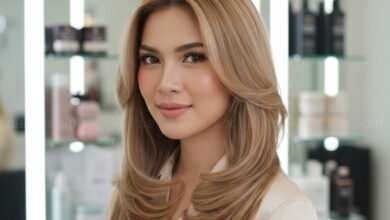
You’ve successfully got that viral ‘Butterfly Cut’. The cut is beautiful: short layers on top frame the face, while long layers underneath give a ‘glamorous’ impression. At the salon, after being blow-dried by a hairstylist, the result is perfect, ‘bouncy’, and voluminous.
The problem arises the next morning. After washing your hair, it ‘falls flat’ and ‘limp’. Those ‘butterfly wing’ layers disappear, and you’re unsure how to bring them back. The key to the Butterfly Cut truly lies in ‘styling’. Without styling, it’s just a regular layered cut. The good news is, you can do it at home. Here’s a 10-minute quick blow-dry tutorial.
Essential Tools for Styling the Butterfly Cut
- Hair Dryer (with Nozzle): Essential for directing heat precisely.
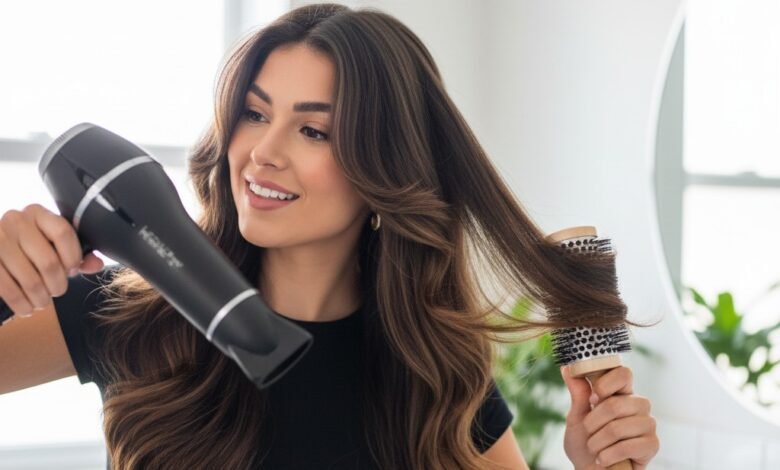
- Round Brush: A must-have! Medium to large sizes are best for creating ‘curves’.
- (Optional) Velcro Rollers: Large velcro hair rollers to ‘lock in’ volume in the top layers.
- Heat Protectant Spray: Essential, to protect hair from heat.
- Hairspray: To ‘lock in’ the blow-dry results for lasting wear.
Butterfly Cut Blow-Dry Tutorial (Step-by-Step)
- Step 1: Preparation (Damp Hair & Heat Protectant)
Start with hair that is 70-80% dry (damp). Do not blow-dry from soaking wet. Spray Heat Protectant evenly throughout your hair. - Step 2: Section the Hair (Top & Bottom Layers)
This is KEY. The Butterfly Cut is 2 cuts in 1. Clip/tie up the top section of your hair (short/crown layer). We will work on the bottom section (long layer) first. - Step 3: Blow-Dry the Bottom Layer (Inward or Outward Direction)
Take a section of the bottom layer. Place the round brush underneath it, direct the hair dryer (with nozzle) towards the brush. Pull the brush downwards, and when you reach the end, twist the brush ‘inward’ (towards the neck). Do this for the entire bottom layer. This creates a neat curve. - Step 4: Blow-Dry the Top Layer (Outward Direction – The “Wing”)
Now, unclip the top layer (short face-framing layer). This is the ‘butterfly’ part. Take a section of hair (e.g., the right side), place the round brush underneath it. Pull it forward-downwards, and when at the end, twist the brush ‘OUTWARD‘ (away from the face). This will create a glamorous ‘flick’ or ‘wing’. Do this for all short layers around the face. - Step 5 (Quick Optional): Use Velcro Rollers
After the top layer is blow-dried hot (Step 4), while still warm, immediately roll that section with Velcro Rollers (hair rollers) outwards. Leave them in for 5 minutes (while you do your makeup). This will ‘cool’ the hair in a voluminous position, making it much more long-lasting. - Step 6: Finishing (Hairspray)
Remove rollers (if used). Gently ‘ruffle’ the hair roots with your fingers for volume. Spray light hairspray from a distance to lock in the style.
Quick Alternative: Use a Flat Iron
If you’re not skilled at blow-drying, you can ‘cheat’ it with a flat iron.
- Flat iron the bottom layer straight, then ‘bend’ it inward at the ends.
- Flat iron the top layer (face-framing), then ‘bend’ it outward at the ends (flick it).
The Butterfly Cut is a ‘high maintenance’ style that requires styling. However, with 10 minutes of practice using a round brush and hair dryer, you can achieve a salon-quality ‘glamorous’ look every day.
