The Scientific Guide to At-Home Hair Smoothing: From Theory to Foolproof Practice
Memahami Sains di Balik Rambut Lurus: Apa Itu Smoothing?
Many yearn for straight, smooth, and manageable hair, synonymous with professional salon treatments. Smoothing is one of the most popular techniques to achieve this transformation. However, the cost and time required at a salon often act as a barrier. The question is, can salon-quality results be achieved at home? The answer is yes, but with a deep understanding of the chemical processes involved and precise execution. It’s not just about following steps, but about comprehending the science behind it.
We believe education is key. This article is not just a typical tutorial; it’s a comprehensive guide that dissects the smoothing process from A to Z, ensuring you not only succeed but also prioritize hair health.
Understanding the Science Behind Straight Hair: What is Smoothing?
Before touching any creams or flat irons, it’s crucial to understand what truly happens to your hair’s structure. Each strand of hair is composed of a protein called keratin. Your hair’s original shape—straight, wavy, or curly—is determined by chemical bonds within the hair’s cortex, especially disulfide bonds.
The chemical smoothing process works in two fundamental stages:
- Relaxing Stage (Bond Breaking): Smoothing cream (Step 1) contains active ingredients like ammonium thioglycolate. This compound works by penetrating the cortex and systematically breaking the strong disulfide bonds. This process makes the hair’s original structure ‘soft’ and reshapeable.
- Neutralizing Stage (Re-locking): After the hair is ‘softened’ and straightened (with the help of heat), a neutralizer cream (Step 2) is applied. This cream, often hydrogen peroxide-based, works to reform the disulfide bonds in their new, straight position. This process semi-permanently locks in the smoothing results.
Understanding these two stages is key to avoiding failure. Failures often occur due to incomplete bond breaking or a weak re-locking process, which we will discuss how to address.
Key Preparations Before Starting: The Foundation for Perfect Results
The success of at-home smoothing is 80% determined by preparation. Skipping this stage is a recipe for uneven results or even hair damage.
- Hair Condition Analysis
Be honest about your hair’s condition. Has your hair been bleached, colored, or undergone other chemical processes? Fragile hair (high porosity) is highly susceptible to severe damage if processed with a smoothing cream that is too strong. Smoothing products usually have variants for ‘Resistant’ hair (thick, curly, virgin), ‘Normal’, and ‘Sensitive/Damaged’ (previously chemically processed hair). Choosing the wrong variant is the first fatal mistake. - Choosing the Right Product
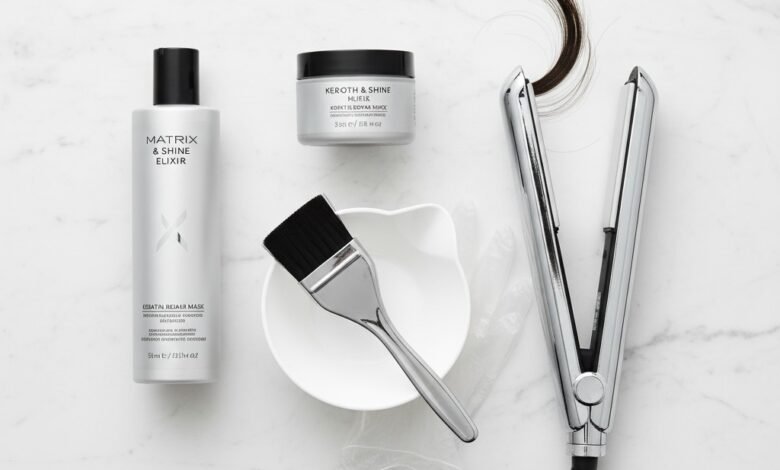
Invest in tested, high-quality smoothing products, such as Matrix Opti.Straight or L’Oréal X-Tenso Oleoshape. These products are designed with technology that minimizes damage and provides more predictable results. Make sure you purchase a complete kit containing Step 1 Cream (Relaxant) and Step 2 Cream (Neutralizer). - Essential Tools
- Non-metallic bowl and applicator brush
- Protective gloves
- Hair clips (many) for sectioning hair
- Wide-tooth comb and application comb
- Flat iron with temperature control (a crucial investment)
- Timer or clock
- Microfiber towel and Hair Dryer
Step-by-Step Application Protocol: Practical and Safe Guide
Once all preparations are complete, follow this protocol carefully. Do not rush; each step plays a critical role.
- Phase 1: Pre-Treatment and Cleansing
Wash your hair using a clarifying shampoo to remove all product residue, oil, and dirt. Very important: Do not use conditioner. The silicone content in conditioner can coat the hair shaft and prevent even absorption of the smoothing cream. Towel-dry your hair until it’s damp (approximately 80% dry). Hair that is too wet will dilute the cream formula, while hair that is too dry is difficult to apply evenly. - Phase 2: Relaxant Cream Application (Step 1)
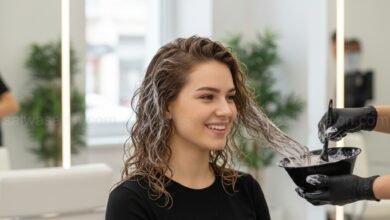
This is the most critical phase. Divide your hair into 4-6 neat sections. Starting from the nape of the neck, take thin layers of hair (about 1-2 cm). Apply Step 1 Cream using a brush, starting 1-2 cm from the hair roots. Never apply the cream directly to the scalp as it can cause chemical irritation. Distribute the cream evenly along the entire hair shaft to the ends using gloved fingers or the back of a comb. Ensure every strand is perfectly coated. Continue this process layer by layer until all hair is covered. - Phase 3: Chemical Process and Rinsing
After application, leave the cream on for the time recommended on the product packaging (usually 20-40 minutes, depending on hair type). Perform an elasticity test every 10 minutes: take a few strands of hair, gently pull them. If the hair stretches like rubber and does not return to its original shape, it means the bond-breaking process is complete. Once the processing time is reached, rinse your hair thoroughly with warm water until it is completely free of cream residue. Dry your hair 100% using a hairdryer. - Phase 4: Heat Styling and Neutralizer Application (Step 2)
Flat iron your hair layer by layer with very thin sections. Use a temperature of approximately 180°C – 200°C for normal hair, and lower for previously processed hair. This flat ironing process is the ‘mold’ for your hair’s straight shape. Once all hair is perfectly straightened, apply Step 2 Cream (Neutralizer) in the same manner as Step 1. This cream will lock the disulfide bonds into their new, straight form. Leave it on as directed (usually 10-15 minutes). - Phase 5: Final Rinse and Treatment
Rinse your hair again to remove any remaining neutralizer. At this stage, you may apply conditioner or a special hair mask for chemically processed hair. Focus on products rich in keratin protein and moisturizers to restore lost nutrients. Rinse thoroughly and gently dry your hair.
Post-Smoothing Care: Protecting Your Hair Investment
The work isn’t over yet. Long-lasting smoothing results depend entirely on post-procedure care.
- The 72-Hour Rule: Do not wash, tie, or clip your hair for at least the first 3 days. This allows time for the disulfide bonds to fully harden and stabilize.
- Use Sulfate-Free Shampoo: Sulfates are harsh detergents that can strip the hair’s protective layer and cause smoothing results to fade more quickly.
- Mandatory Conditioner & Weekly Mask: Smoothed hair tends to be drier. Use conditioner every time you wash your hair and perform a deep conditioning treatment or hair mask once a week.
- Protect from Heat: Always use a heat protectant before using hot styling tools to prevent further damage.
Conclusion: At-Home Smoothing is Both Art and Science
Performing hair smoothing at home is a perfectly feasible process that can yield satisfying results, provided you treat it as a scientific procedure requiring precision, not just a regular beauty routine. By understanding the ‘why’ behind each step—from breaking disulfide bonds to the importance of post-procedure care—you will not only achieve your dream straight hair but also ensure your crown remains healthy and shiny in the long run. Remember, knowledge is your best tool for foolproof results.
